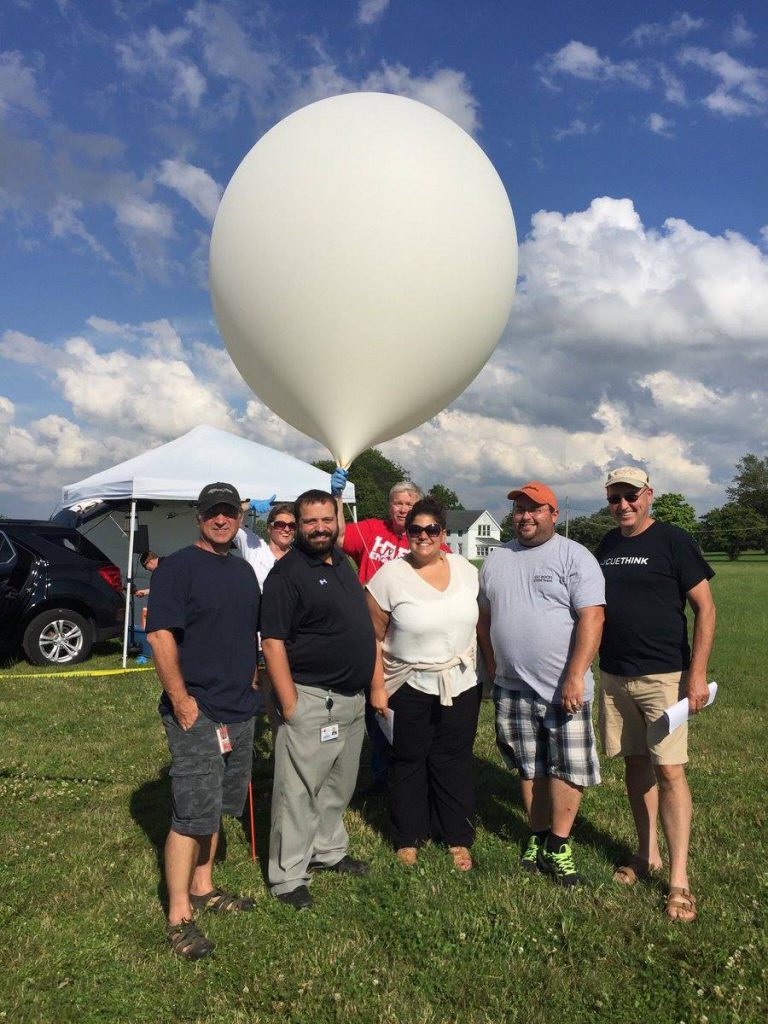
High Altitude Balloon Parachutes
In most high altitude weather balloon projects, your balloon will rise, then burst and parachute back to the ground. Your payload parachute is what will slow the payload down for a soft and safe landing so it’s important to think about how the parachute will be attached to your payload (securely!) and what size parachute you’ll use. In most cases, you’ll want to use what’s called an inline parachute where the payload is attached to the bottom and the weather balloon is attached to a special loop in the top of the canopy. These types of parachutes are usually either specialized just for weather balloons or they can also be found from model rocket suppliers. We use Rocketman Parachutes for our flights. These parachutes are reliable and also have only 4 shroud lines which reduces the risk of tangling. You’ll likely use a size between 3 and 4 feet in diameter, but each parachute manufacturer publishes their own specifications (Rocketman Size Guide) which indicate the descent rate (landing) speed. You’ll need to ensure your parachute allows your payload to land at a safe speed, preferably around 11 mph or 5 m/s. This speed ensures the payload lands softly enough to not cause damage, but also quickly enough that it doesn’t drift downwind forever.
Parachute Suppliers:
Parachute Size Guides:
Attaching & Deploying the Parachute
When it comes to your parachute, you’ll want a fail-safe deployment method. We strongly advise against trying to do automated deployments that are controlled by microcontrollers or other computer deployment methods since things can go wrong. The last thing you want to go wrong is your parachute so use a fail-safe method! Also, ensure your payload line/string is no more than 50 lb. test line to meet safety regulations. We use lightweight kite string, but you can aso use poly-cord as long as it has a 50 lb. load limit.
There are 3 common methods for attaching your parachute to your payload and balloon:
- Inline Parachute (most common)
This is recommended for almost all flights. The payload string will attach to the bottom of the parachute and the balloon string will attach to a special loop on the top of the canopy. During ascent, the tension from the weather balloon will pull the parachute closed so reduce drag. Once the weather balloon breaks, the tension will be released and the parachute will be free to open.
- Mid-Point Parachute
This is the second most common method and a good method if your parachute does not have a loop at the top of the canopy. In this method, you’ll attach both the payload and balloon strings to the bottom of the parachute. During ascent the parachute will hang and drag beside the payload line. This causes a bit of extra drag, but not much. The parachute remains open the entire time.
- Low-Point Parachute
This is the least common method, but still an acceptable option when your parachute does not have a loop on the canopy. In this method, your payload will be connected directly to your balloon and the parachute will be connected to the bottom of the payload. Like the mid-point option, this also causes the payload to drag, but this time below the payload. This method usually causes the payload to descend upside down.
Pro Tip: Consider the payload and balloon weights! When your balloon bursts, much of the weather balloon remnants will remain attached to your payload line. This can be upwards of 75% of the original balloon weight or more! If your payload is very lightweight, this can cause your system to descend balloon-first if your balloon remnants weigh a lot more than the payload. For super-ultra-light payloads, you may want to consider mounting options #2 or #3 to ensure the balloon remnants don’t render your parachute useless. This really only applies to extremely light payloads. If your payload weighs more than 50% the weight of your balloon, then mounting option #1 is still our recommended method.