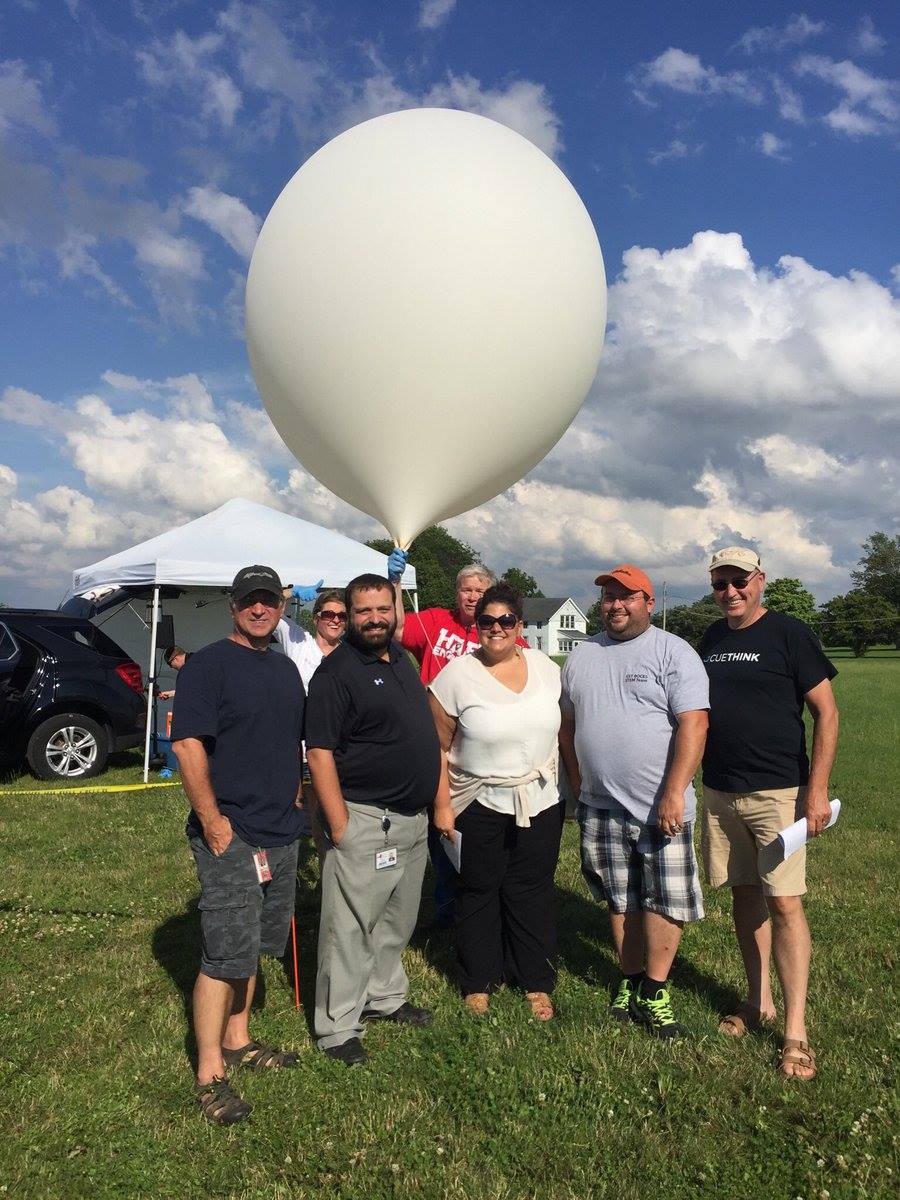
Inflating you weather balloon
Before you start the inflation process, be sure everyone on your launch team is wearing latex or vinyl gloves to keep the oils on your skin away from the balloon material.
Step #1: Prepare filler hose
You’ll need a way to transfer helium from the tank to your balloon. You can either purchase an inflation tube and regulator from a supplier or build your own using some pipe tubing and a gas regulator valve from a home supply store. Your inflation tube will have at least 3 parts: an opening/connection point to wrap the neck of the balloon around, a flexible tube for the gas and a regulator to restrict the gas flow and attach the tube to the tank. Regulators are important. Helium tanks are usually pressurized to 3,000 psi which can be dangerous. Use a regulator that brings that down to at least 80 psi like the one from High Altitude Science.
Step #2: Attach balloon to filler hose
Gently unroll your weather balloon and lay it on a tarp or smooth surface to protect the material. Next, slide your payload lines over the filler hose (see pro tips, below). Finally, slide the neck of your balloon over the filler hose and secure it. We use duct tape for this to secure it to the filler and then add one zip-tie for extra security.
Pro Tips:
- Include a safety line (or two) with a solid anchor with the zip tie and always have your balloon firmly attached to the safety line until you’re ready to launch.
- Have your payload line looped around your filler hose (not zip-tied) so that when you’re done filling you can just slide the payload line up to the balloon before removing it from the filler.
- Along with your safety line, you can attach a counter weight (see step #3).
- Before we slide the balloon over the filler, we have 4 total lines loop over the filler: the payload, the counter weight and 2 safety lines/anchors.
Step #3: Begin inflating
Now, it’s time to open the valve of your gas tank. The air will flow FAST! Start slowly until the balloon starts to lift it’s own weight and rise. Once it begins to rise you can open the tank valve more. Be careful handling the balloon especially during the early stages before it begins rising. Try not to grab or pull the material and just gently guide it. Ideally, when you pick your launch day, try to shoot for a day with surface winds less than 10 mph to make it easier for yourselves – especially for your first flight.
Step #4: Measuring Lift
Days before you even plan to launch, you should already know the weight of your payload along with the target lift that you want to achieve. There are several online calculators to help you identify the lift amount. You should keep your ascent rate around 5 m/s as a starting point and read the online calculator data to determine the lift amount. On average, this is usually 1.5x the weight of your payload. So a 1000g payload, should shoot for 1500g lift from the balloon. There are two common methods to measure this: either via a fish scale or using a counter weight. We actually do both just to be sure. A fish scale is easy since you can directly measure the pull of the balloon to see if it matches your expected lift. A counter weight is also easy to use. Fill a water just so that the jug and water weighs exactly what you want your lift to be. Once the balloon can consistently lift the counter weight off the ground, then you’ve achieved the appropriate lift amount and can stop filling. Pro Tip: On very windy days (10+ mph) the wind can create aerodynamic lift on the balloon and create false measurements. Be careful measuring in these conditions and make sure the balloon is actually pulling the weight and not the wind
Balloon Calculator Tools
Step #5: Sealing the balloon
Once you’ve reached your lift amount, you’ll need to seal the balloon. There are many ways to do this, but here’s our method. Before we even detach the balloon from the filler, we first twist the neck of the balloon 2 or 3 times and use a zip-tie to seal the twisted neck. As part of that initial zip tie we plae, we ensure that the payload line and our two safety lines are included in that initial zip-tie. This ensures you’re always attached to the safety line. Be careful with the pointy end of the zip-tie to ensure it doesn’t poke your balloon! Once this is done, you can cut/detach your counter weight line, if you have one and completely detach the balloon from the filler – but you’re not done yet. Fold the neck in half (U-shape) and attach 2 more zip-ties for a firm seal. Cut the excess ends of the zip-ties and wrap the sharp ends in 2-inch wide electrical tape to protect the balloon from the sharp ends. As long as your balloon is attached to an anchored safety line, you may slow raise the balloon and let it float while you prepare the payload. On a windy day, you may want to have someone hold the balloon or use a bedsheet or packing blanket to hold the balloon down until you’re ready to launch.

